Learn How to do Calligraphy
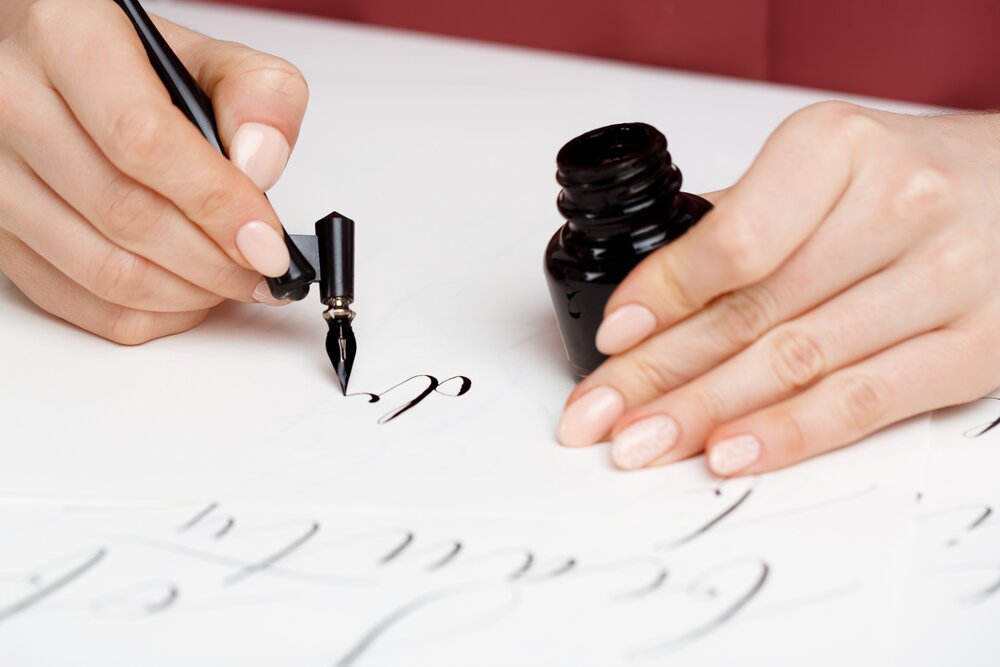
You’ve seen the beautifully artistic writing that is calligraphy. You would love to be able to put pen to paper and create this visual art yourself, but it looks kind of hard. Well, you will be happy to know that learning how to do calligraphy requires very few inexpensive tools, and 3 basic core calligraphy writing skills.
Faux Calligraphy
A lot of people recommend faux calligraphy as the first step to learning. Faux calligraphy is simply using a ballpoint or gel pen to create calligraphy writing. Using a standard pen will make learning calligraphy less intimidating because you are using a tool that you are already comfortable with. You will establish muscle memory, and gain familiarity with the letterforms without having to learn to use a new writing tool.
-
- Using a standard pen, write a word in cursive. (leave a lot of space between the letters)
- Reinforce the down strokes by drawing lines parallel to the down strokes. The lines should hug the contours of the downstrokes connecting at the top and bottom
- Fill in the downstroke reinforcements
Pretty simple, right?
Calligraphy Tools
Once you feel confident enough with faux calligraphy you can prepare to try modern calligraphy. As I mentioned above, the tools you will need are relatively simple and inexpensive. You can find them at any arts and crafts store or at Amazon.com Check out this list of tools you will need to get started.
-
-
- calligraphy pen
- India ink or Sumi ink
- laser jet paper (prevents ink feathering/bleeding)
- smooth hard flat writing surface
- comfortable height appropriate seat (obviously)
-
If you’re new to calligraphy, the pen may look very foreign to you. Follow these steps in order to assemble your calligraphy pen.
-
-
- clean the manufacturing oils off the nib
- push the metal petals of your insert inward
- insert nib by sliding the base under the slit in the lip of the rim
-
You can also view this video demonstration, nib tutorial
Core Skills
Now that you have gathered your tools, let’s get to writing. To successfully learn to write calligraphy, you need to master these 3 core skills.
-
-
- Keeping a constant pen angle
- don’t push the nib, lead it
- making parallel lines and even curves
-
Let’s take a closer look at these skills.
Keeping a Constant Pen Angle
Hold your pen so that the tip of the nib is at a 30-60-degree angle pointing to your left. Once you have the grip, keep the pen at an unchanging angle. The nib should always point in the same direction, never changing or turning as you form lines and curves. This is the most important foundation of calligraphy writing.
Don’t Push the Nib, Lead it
Lead or pull the nib gently across the paper either backwards or sideways from the direction it is pointing. If you “push” the nib forward, it my dig into the paper causing ink blots which ruins the work and damages the nib. Use very little pressure so your hand barely touches the paper.
Making Parallel Lines and Even Curves
Practice drawing vertical, diagonal, and horizontal lines parallel to each other. These 3 lines are the base forms for all different types of calligraphy. An example would be how Roman letters use perfectly vertical lines while italic calligraphy uses upward sloping lines.
It may also be helpful to view tutorial videos that show these techniques. This video is very helpful.
It is important to remember that these are 3 separate skills to be learned. Changing the type of line you are drawing does not mean you have to change the angle of your pen. Drawing a vertical line does not mean you have to alter the angle of your pen. Keeping the skills separate in your head will help you master them more quickly.
After learning these basic skills, you should practice them over and over so that they become second nature. You can also purchase practice worksheets to help you perfect your technique.
Your passion is the final lesson. The more you practice, the easier it becomes. As you continue to practice you will see the improvements happening. Dating your work will allow you to gage your progress, and as you improve, so will your commitment and motivation to keep practicing. Nothing left but to let your creative juices flow. Happy Writing.

