Basic Techniques for Holding a Calligraphy Pen and The Most Recommended Pens for Beginners
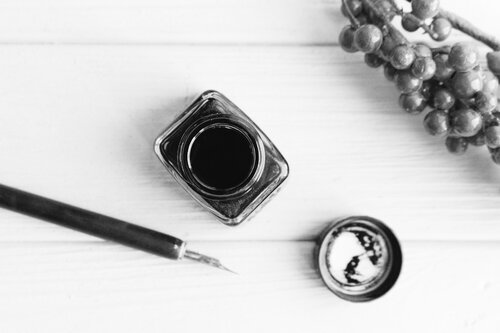
If you’re new to calligraphy, you want to start out by practicing basic brush strokes. But, first, make sure that you have your felt paper taped down so that it doesn’t move all over the place and make a mess. You will also need to dip your pen into the ink first as traditional calligraphy pens don’t have ink within them.
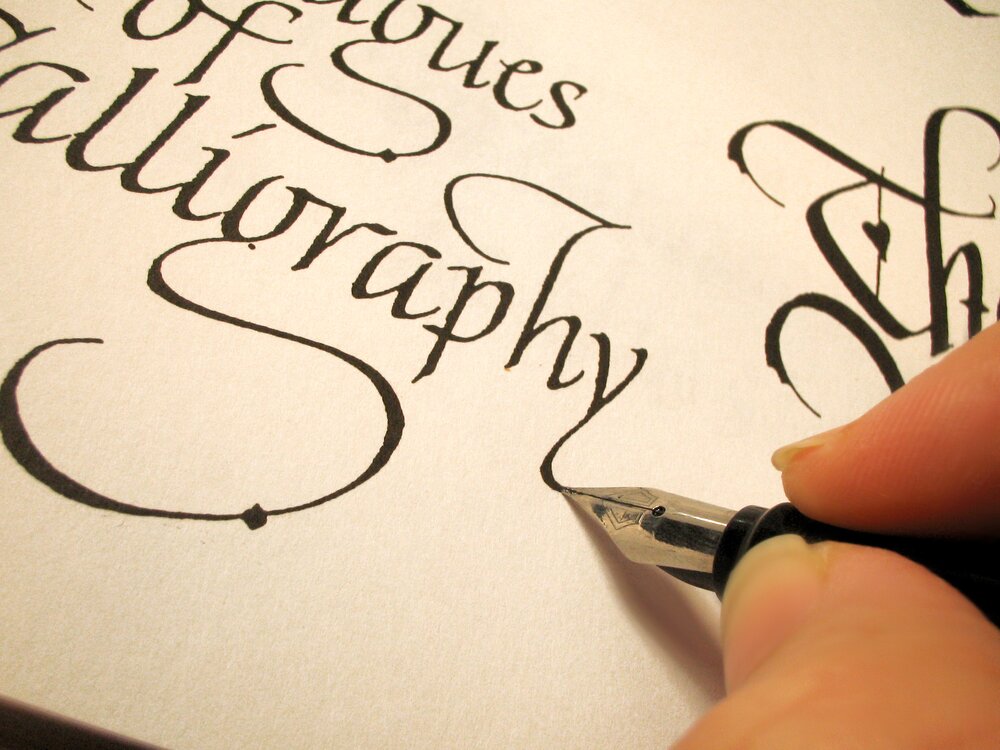
The first thing you need to know about how to hold a calligraphy pen is to first do so at what’s called the zero-degree nib angle. That is, hold it so that it’s touching the top of the writing line. You want to keep the nib flat as you make your first vertical line stroke with equal pressure.
You also can’t hold a calligraphy pen in quite the same way that you do a regular one. With your index finger bent at an upward angle. Instead, your finger should be bent only slightly.
Finger movement also needs to be minimal as too much or too little can cause your fingers to lose balance or tear the paper. Instead, you should focus on moving your whole arm to maximize the pressure on the nib.
Here’s what to do from there:
-If you want a thin stroke, pull your pen from left to right. Make a thick stroke first and then the thin downward ones to form box-like letters
-Use your whole arm rather than just your wrist to work with your calligraphy pen. An unsteady arm can mess up your work
-Keep making upward stroke and adjusting your pen to 45-degree angles. Use the box-like letters you made earlier as your model
-Remember the more pressure you apply, the thicker your strokes will be. Do the opposite for the thinner strokes
-Sawtooth patterns are great. How to do that is to make diagonal strokes that are thin and thicken the upward ones. About every third stroke, lift up your pen so that you can do one downward stroke and one upward stroke.
-Keep practicing with the basic box-like letters and strokes until they become like second nature to you. From there, you could form your preferred writing style, which could be anything from Italian to Gothic.
What to avoid:
-Holding your pen too vertically. It often causes the nib to put unnecessary pressure on the paper and can cause the ink to glob out or the paper to tear or both.
-Holding your pen too far up. That doesn’t allow full control for the nib pressure. The pen should be held about a ½ inch up from the paper.
-If you’re using a dip pen, you need to keep the tines even to the paper. You could lose your balance with your pen if you don’t.
If you’re a true beginner, the dip or ink cartridge pen is most recommended. Dip pens have to be assembled together but at least you have your choice of nibs, inks, and holders. Left-hand calligraphers tend to prefer oblique holders so that their pen can be held without ruining the work.
If you don’t want or don’t have the means to carry a bunch of unassembled tools around, the ink cartridge pen is for you. However, it does limit the kind of inks and nibs that you can choose. Also, traditional ink often clogs them up.